2021 is already off to an incredible start you guys! As many of you are already aware if you follow me on social media, I became a mom on February 8th! My husband and I welcomed our beautiful and healthy baby boy into the world and life has been so generous ever since. In addition to welcoming our son, I’ve also been churning out some delicious recipes at a rapid pace on the blog and social media! How I find the time to cook and take care of a newborn– I have no clue but I’m thankful I’ve been able to do it.
Not only have I been working on new recipes for you guys but I’m also really excited to announce a partnership that I’ve had in the works for a few weeks now.
I am officially a FoodSaver ambassador! What is FoodSaver you ask? Well, they are the pioneer of vacuum sealing systems. Yes, that means less food waste and more saving! With all the cooking and recipe testing that I do, FoodSaver has literally made my life in the kitchen so much easier. I’m super excited to share with you all the latest innovations from FoodSaver over the next few months. I’ll be sharing how I use the products in my daily life and how you can too!
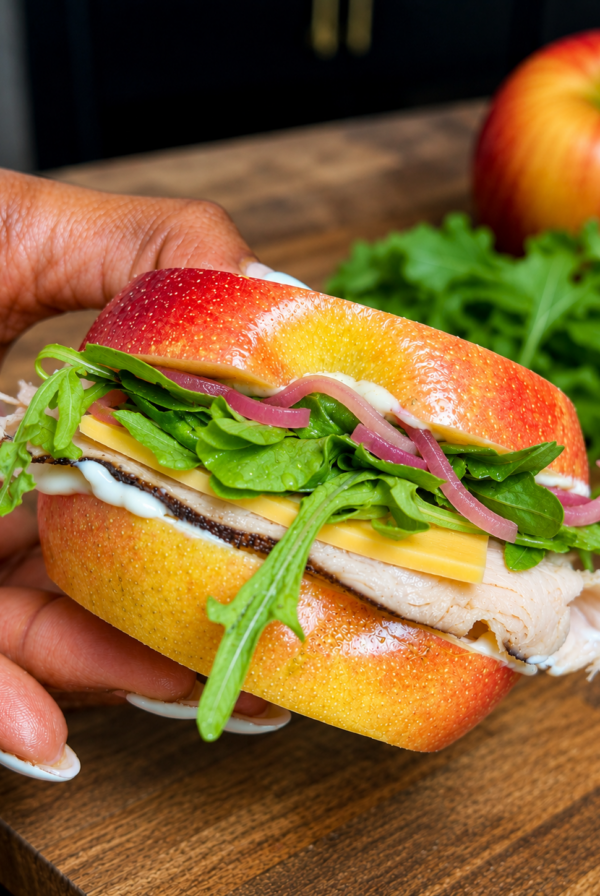
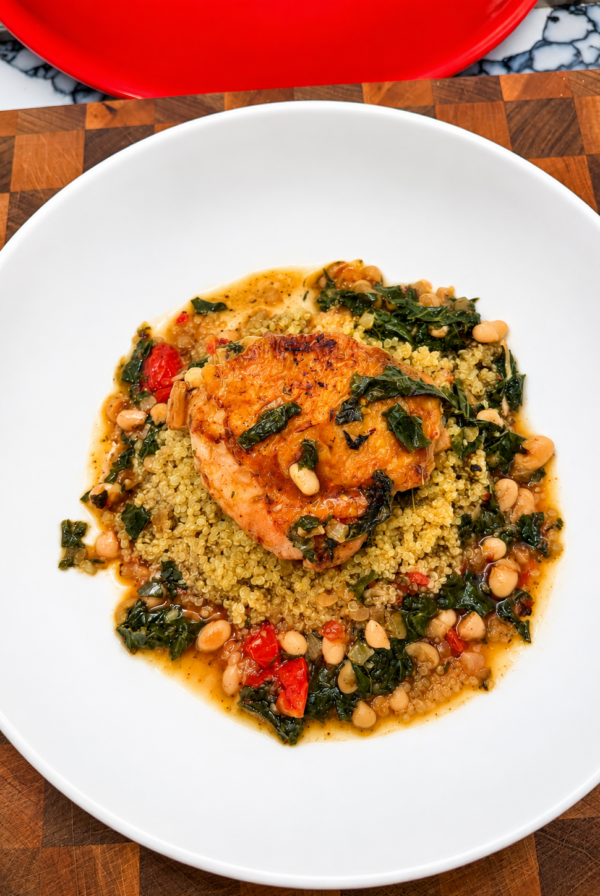
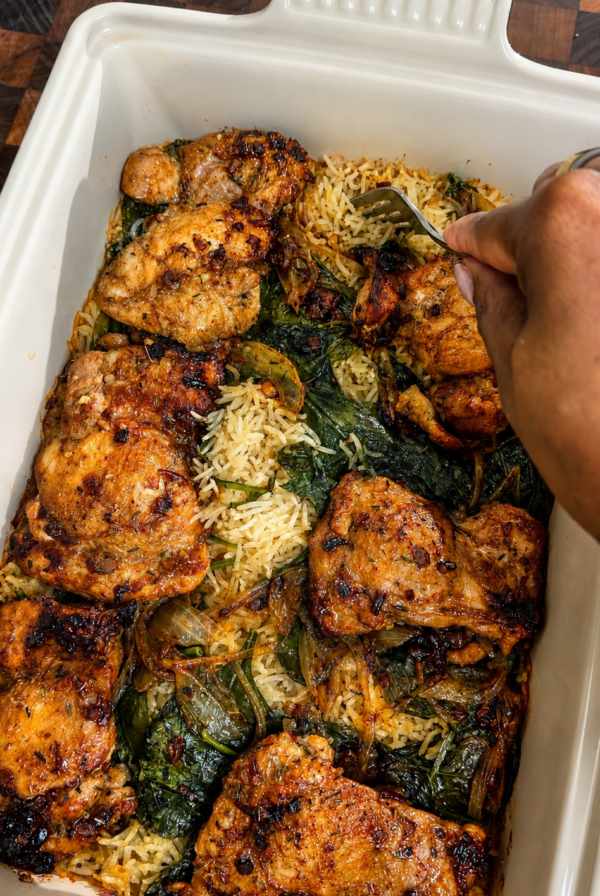
There are two items that I’m currently obsessed with! First, it’s the FoodSaver VS3182 Multi-Use Vacuum Sealing & Food Preservation System. This Food Preservation System keeps food fresh up to 5x longer in the freezer compared to ordinary storage methods, and also helps prevent freezer burn. The second item is the FoodSaver Microwavable Meal Prep Bags. These bags are literally the biggest mom kitchen hack. Get this, you can simply fill the bag with a prepped meal, vacuum seal with a FoodSaver vacuum sealer, store in the freezer or fridge, and microwave when needed! I’ve been meal prepping like a champion since using these bags.
In fact, I have a super easy and delicious recipe to share with you that I prepped for my family. I cooked my meal as I normally would and once complete, I portioned out the servings in the individual FoodSaver Microwavable Meal Prep Bags and stored them in the refrigerator for easy grab dinners. They warmed up in the microwave perfectly as if I had just prepared the meal that night.

If you live a busy lifestyle and want to streamline your time in the kitchen these two FoodSaver tools are must-have’s.
Check out my recipe featuring the VS3182 and Microwavable Meal Prep Bags below!
USE promo code: NATASHA25 for 25% off your order! (Good on all full price items).
This is a sponsored post on behalf of FoodSaver. All opinions are my own.

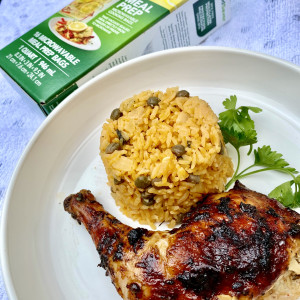
Oven-Baked BBQ Jerk Chicken with Arroz con gandules
Equipment
Ingredients
For arroz con gandules
- 2 cups of jasmine rice
- 1 15 oz can of pigeon peas
- 1 13.5 oz can of coconut milk
- 1/2 a small yellow onion, chopped
- 2 cloves of garlic, minced
- 2 sprigs of fresh parsley
- 2 scallions
- 1 tbsp of sofrito
- 1 tbsp of olive oil
- 2 bay leaves
- 1 packet of sazon
- 1 boullion cube
- 2 cups of water
- 1/2 tsp of sugar
- 1 tsp of dried oregano
For Oven-Baked BBQ Jerk Chicken
- 1 whole 3lb chicken butterflied and cut in half
- 2 tbsp of Walkerswood Jerk Marinade
- 1/4 cup of fresh chopped parsley
- 1/2 a yellow onion, diced
- 1/2 cup of good quality olive oil
- Salt & Pepper to taste
For BBQ Sauce
- 1/4 cup of store bought bbq sauce
- 2 tbsp of sweet chili sauce
- 1 tbsp honey
- 1/4 of water
Instructions
- For arroz con gandules
- In an instant pot, set the function to saute and add olive oil, onions, parsley, and scallion. Saute until fragrant, about a minute.
- Next, add garlic, sofrito, and drained beans. Stir to combine.
- Turn off the saute function and add coconut milk and give it a good stir.
- Season with sazon, boullion, sugar, and dried oregano.
- Add rice and water, bay leaves, and stir one final time.
- Close the instant pot and set it to high pressure for 6 minutes.
- Once the instant pot timer goes off allow the pressure to natural release (about 15 minutes).
- Open the instant pot and remove scallion, parsley, and bay leaves.
- Fluff the rice and serve.
- This can also be done on the stovetop. Combine all ingredients in the same order, cover the rice and allow it to steam on medium-low heat for 20 minutes until water has evaporated and rice grains are tender.
- For Oven-baked BBQ Jerk Chicken
- Heat oven to 450 degrees.
- In a mixing bowl, combine jerk marinade, parsley, onion, olive oil, salt, and pepper and give a good stir until well combined.
- Pour marinade over chicken and use FoodSaver® Preserve & Marinate Vacuum Container to marinate for 12 minutes.
- Once marinated, place chicken in a baking dish and bake at 450 degrees for 15 minutes.
- Reduce oven temperate to 375 degrees and continue cooking for another 45 minutes until chicken is tender and cooked through. The chicken is done when skin is charred, the meat starts to pull away from the bone and juices run clear when pierced with a fork.
For the BBQ Sauce- While chicken bakes, in a small saucepan add bbq sauce, chili sauce, honey, and water.
- Stir to combine and allow the sauce to simmer and thicken to a glaze for 5 minutes.
- Pour glaze over chicken the last 5 minutes of cooking.
Nutrition information is automatically calculated, so should only be used as an approximation.
P.S. Check out my last post here.